电脑GPU-Z是干什么用的
2016-06-24 08:20:51
来源:
格子啦
1、打开软件GPU-Z。如图1所示。

图1
2、选择"Yes"。如图2所示。
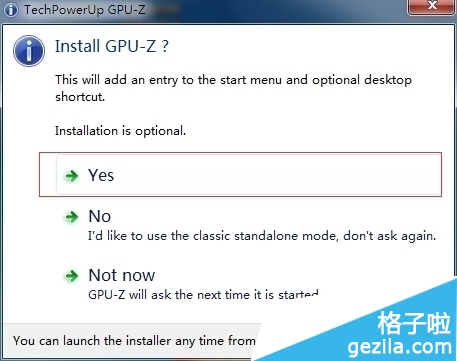
图2
3、选择"Next"。其他东西我们用不着,所以就不需要打钩了。如图3所示。
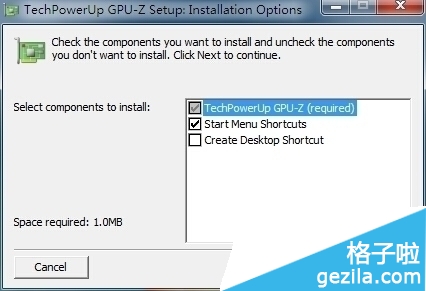
图3
4、点击 "Browse..." 选择你需要安装的位置,然后点击 "Install" 。如图4所示。

图4
5、已经安装完成,点击"Close"关闭它。如图5所示。
图5
6、最后会弹出你所安装的GPU-Z,现在这些就是你的电脑显卡的信息了。如图6所示。
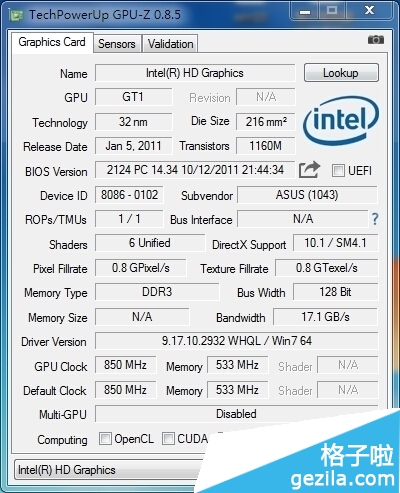
图6
总结:是不是很简单方便,这样就可以查看自己的显卡和你买来时商家所说的显卡是否一致了。